Ditch Alexa: Build a Fully Local Voice Assistant with Home Assistant, Whisper, and Piper!
Alexa and Google listen in from the cloud. Your smart home can do better. Here's the full recipe for a voice assistant that runs 100% on your own hardware — wake word, speech-to-text, and a voice to answer back — using Home Assistant Assist, Whisper, and Piper.

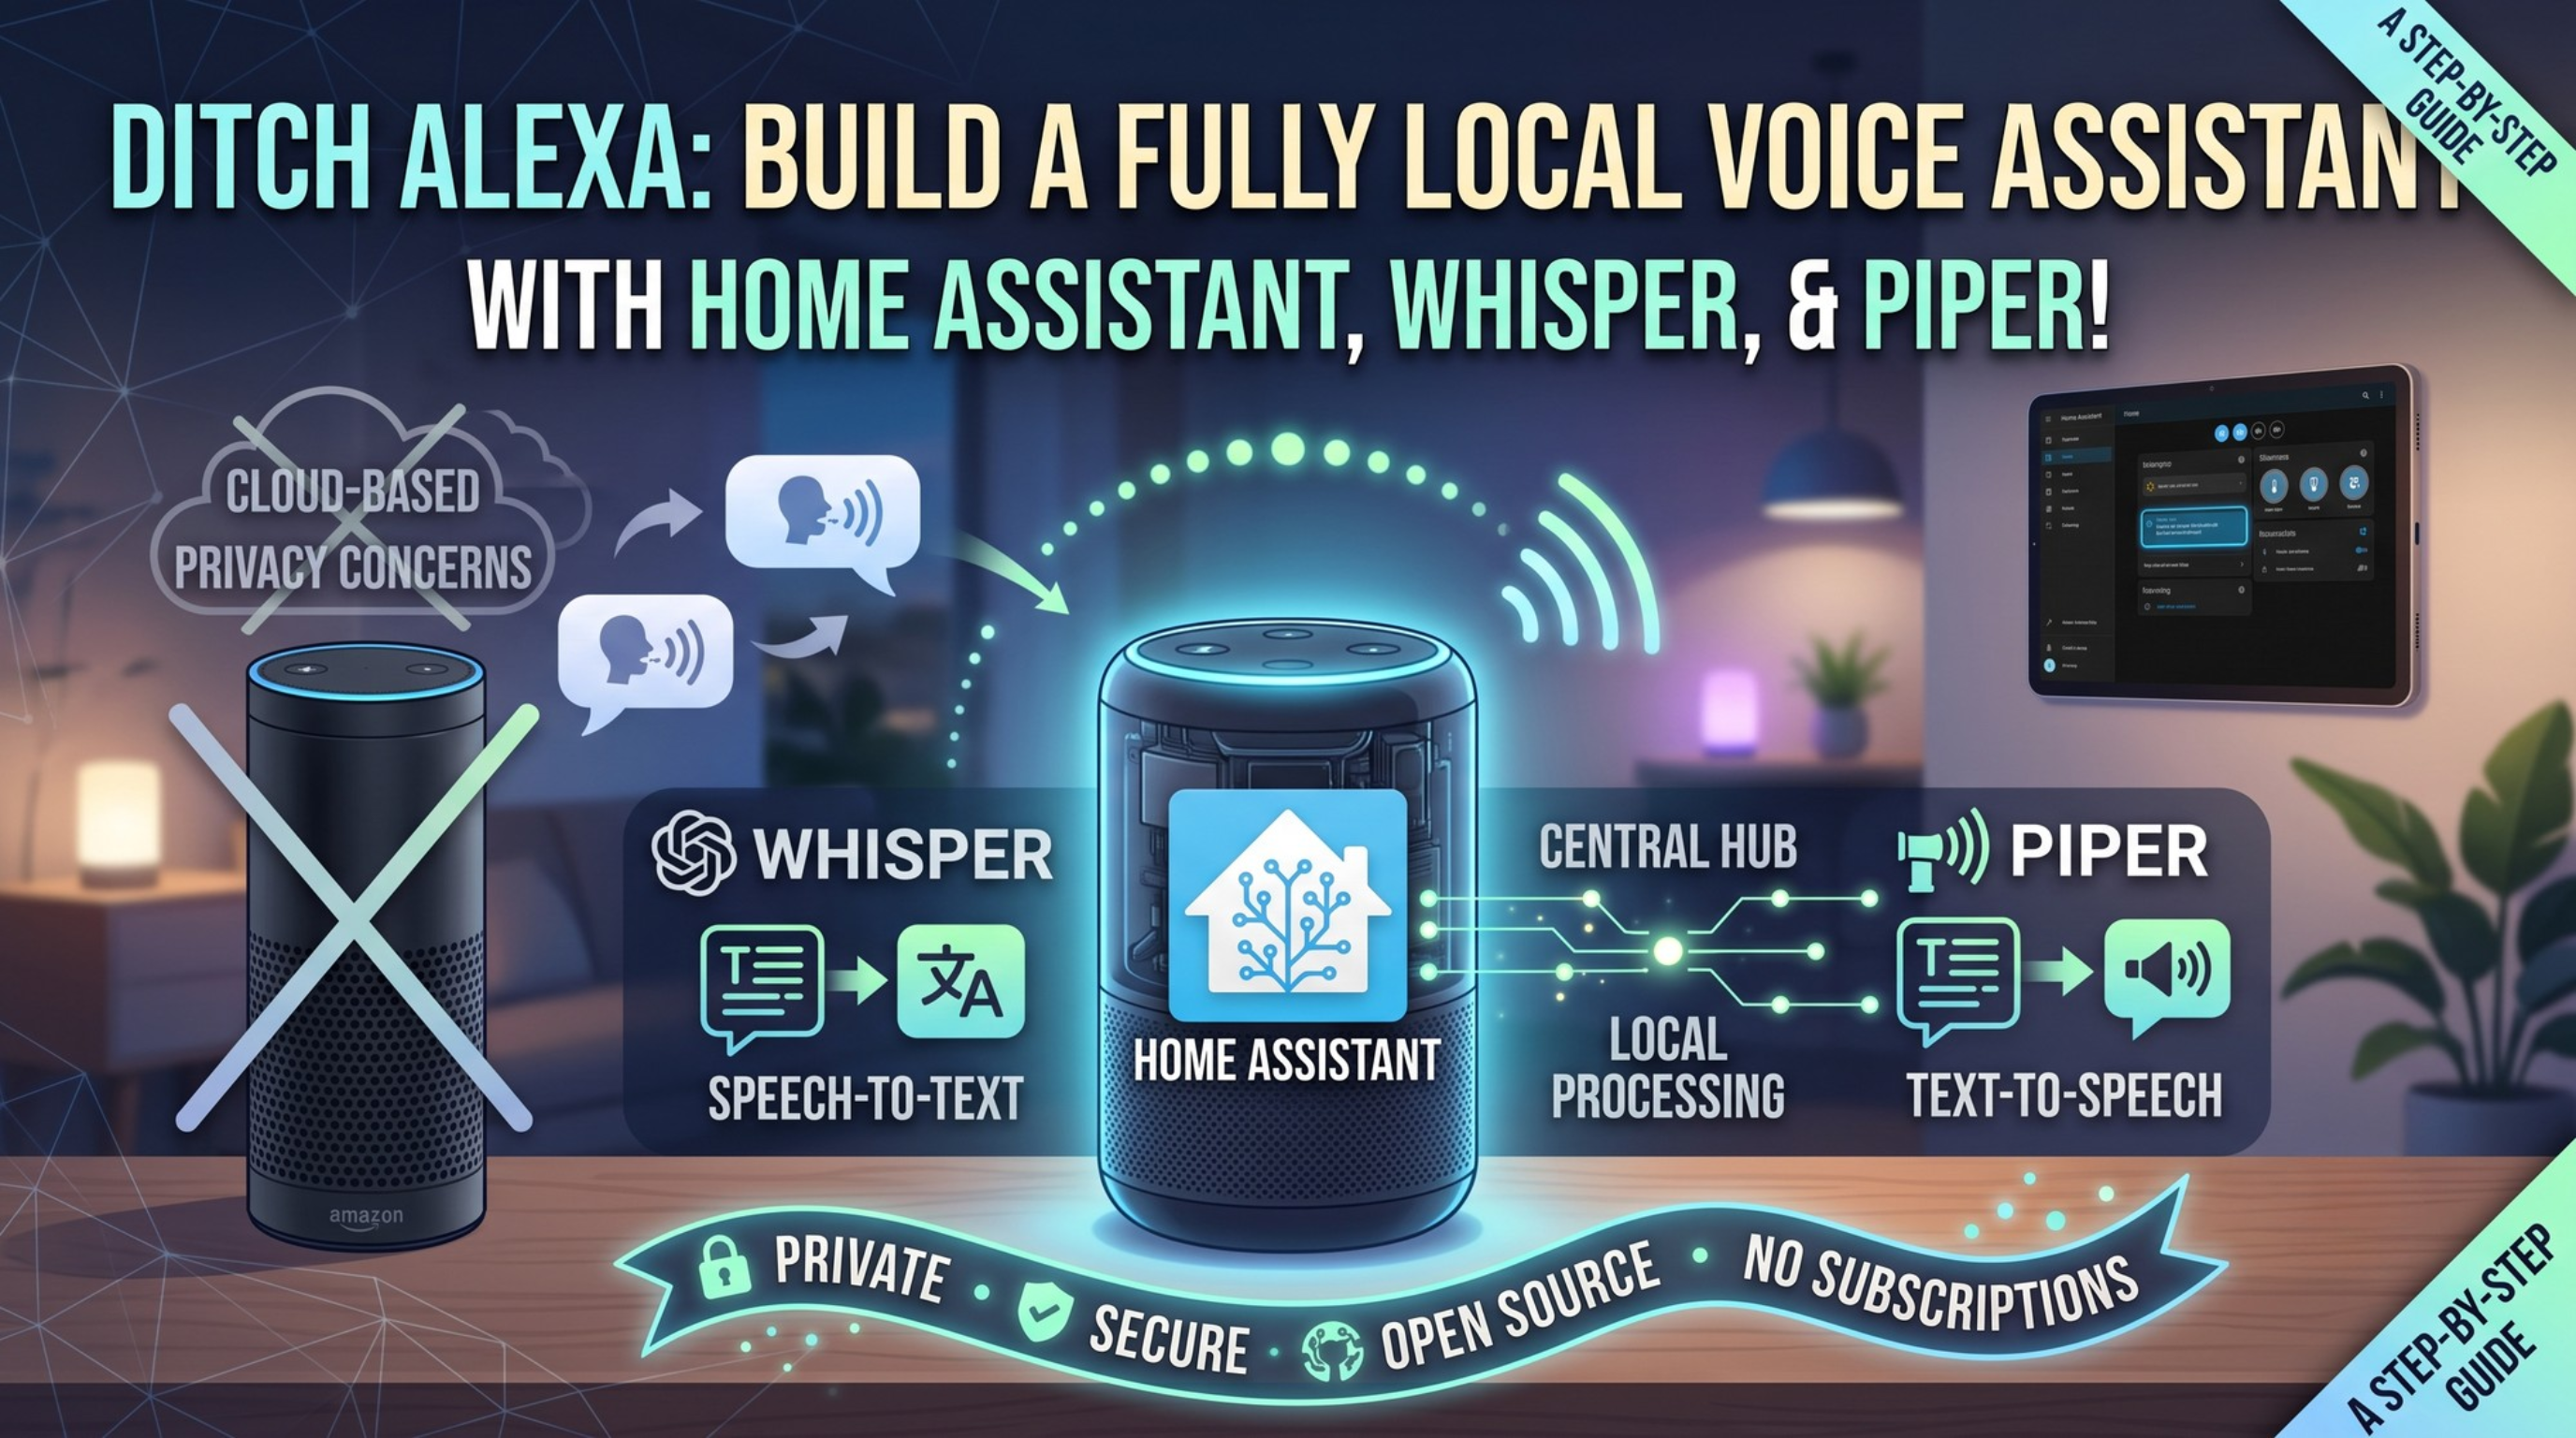
Let's be honest about the smart speakers in your house: they're microphones that belong to someone else. Every "Alexa, turn on the lights" takes a round trip through a datacenter, gets processed on servers you don't control, and, as the fine print quietly admits, may be reviewed to "improve the service." You spent all that effort building a local-first smart home with Home Assistant... and then put a cloud microphone in every room. We've all done it. Today, we fix it.
Because here's the thing most people still don't realize: Home Assistant now has a complete, fully local voice pipeline built in. Wake word detection, speech-to-text, intent handling, and text-to-speech — all of it running on your own hardware, all of it open source, and none of it phoning home. The project's "Year of the Voice" effort turned what used to be a science project into a set of add-ons you can install in an afternoon.
In this guide we'll build the whole pipeline end to end: openWakeWord for the wake word, Whisper for the ears, Home Assistant Assist for the brain, and Piper for the voice. Then we'll talk hardware — from a $15 test puck to dedicated voice satellites and how to level the whole thing up with a local LLM. If you read our post on why to run AI locally, this is that philosophy made real: privacy, cost, and control, now with a wake word.
How the Pipeline Works
When you say, "Okay Nabu, turn off the kitchen lights," here's the local relay race that replaces Amazon's datacenter:
- Wake word (openWakeWord): a tiny, efficient model listens for the trigger phrase — nothing else is processed until it hears it.
- Speech-to-text (Whisper): your command is transcribed to text by OpenAI's open-source Whisper model, running on your server via the
faster-whisperadd-on. - Intent handling (Assist): Home Assistant matches the text against its built-in sentences — thousands of phrases, in dozens of languages — and executes the action against your entities.
- Text-to-speech (Piper): the response is spoken back with a fast, surprisingly natural local voice.
The glue between these pieces is the Wyoming protocol — a simple standard that lets each stage run wherever you want. Everything on one box, or Whisper on your beefy home lab server while Home Assistant runs on a Raspberry Pi — your call. That flexibility is precisely the kind of architecture we love around here.
What You'll Need
Server side (pick your reality):
- Bare minimum: the Home Assistant box itself. A Raspberry Pi 5 or HA Green can run the pipeline with the
tinyWhisper model, but expect a couple of seconds of lag and occasional mishears. - Comfortable: any Intel N100 mini PC or the SFF/thin-client boxes we've praised before. Runs the
smallmodel with snappy responses. - Luxury: a machine with a GPU running Whisper, near-instant transcription, and headroom for the LLM upgrade at the end of this post.
Room side (the microphone + speaker):
- Home Assistant Voice Preview Edition (~$59): Nabu Casa's own hardware, the easiest path by far, with a proper mic array, and it funds the project.
- ESP32-S3-BOX-3 (~$65): a DIY favourite with a screen; flashes with ESPHome's voice assistant firmware.
- M5Stack ATOM Echo (~$15): a tiny test puck — fine for proving the pipeline works, not great as a daily driver.
- The phone in your pocket: the Home Assistant companion app can use Assist directly — zero extra hardware to start.
Step 1: Install the Three Add-Ons
In Home Assistant, head to Settings → Add-ons → Add-on Store and install:
- Whisper (speech-to-text)
- Piper (text-to-speech)
- openWakeWord (wake word detection)
Start each one and check Start on boot. Then go to Settings → Devices & Services, where the Wyoming integration will have discovered all three, now click through to add them.
Running Home Assistant in Docker? No add-on store, no problem — and you already know how we feel about Docker around here. All three services ship as standalone containers (rhasspy/wyoming-whisper,rhasspy/wyoming-piper,rhasspy/wyoming-openwakeword). Run them on any box on your network and point the Wyoming integration athost:port. This is also how you offload Whisper to a faster machine.
Model choices that matter:
- Whisper: start with
base(ortinyon a Pi). If commands get misheard, step up tosmallthe accuracy jumps should be noticeable. Set your language explicitly rather thanauto; it's faster and more accurate. - Piper: Pick a voice you can live with; you'll be hearing a lot of it. Preview them at the Piper voice samples page; medium-quality voices are the sweet spot of speed vs. naturalness.
- openWakeWord:
ok_nabuis the default;hey_jarvisis included, and, let's be honest, is more fun. Community-trained custom wake words are possible too; we'll cover that in the satellites post.
Step 2: Assemble the Assist Pipeline
Go to Settings → Voice assistants and create a new assistant:
- Conversation agent: Home Assistant (the built-in intent engine)
- Speech-to-text: faster-whisper
- Text-to-speech: piper
- Wake word: openwakeword
That's the whole brain surgery. Use the microphone icon in the HA interface or mobile app to test it right now, ask it to turn something on, and watch it happen without a single packet leaving your LAN. (Pull your WAN cable and try it again, just for the satisfaction. This is the demo that converts skeptics.)
Step 3: Expose the Right Entities
Assist only controls what you explicitly expose as a sane security default. Head to Settings → Voice assistants → Expose and add your lights, switches, locks, covers, and climate devices.
Two tips from the trenches:
- Names are everything. Assist matches on entity names and aliases. "Kitchen Lights" works;
light.kitchen_rgbw_controller_2does not. Add aliases for whatever your household actually says; if the kids call it "the big lamp," alias it. - Assign areas. "Turn off the lights in the office" works out of the box if your entities have areas assigned. You did that during your Home Assistant spring cleaning... right?
Step 4: Put a Satellite in the Room
The phone app is a fine proof of concept, but the magic is a hands-free device in the room. The short version for each path:
- HA Voice Preview Edition: plug in, discover, assign your pipeline. Genuinely done in five minutes.
- ESP32-S3-BOX-3 / ATOM Echo: flash the ready-made ESPHome voice firmware from the browser, adopt it, and assign the pipeline. Our full room-by-room satellite build — including on-device wake word and a 3D-printed stand or two — is coming as its own post.
- Repurposed Pi + USB mic: The Wyoming Satellite project turns any Raspberry Pi with a microphone into a satellite. Great use for that Pi 3 or 4 in your drawer.
Honest Trade-Offs (You Know the Drill)
We don't do hype here, so here's the truth:
- Alexa still wins on random trivia: Out of the box, Assist is a command engine, not a chatbot. It controls your home brilliantly, but it won't riff on the weather in Mongolia. (The LLM upgrade below closes most of this gap.)
- Hardware audio quality matters. A $15 puck across the room will mishear more than an echo-cancelling mic array. Budget accordingly for rooms where you'll actually use it.
- The first setup takes an afternoon, not five minutes — mostly spent picking models and fixing entity names. Every satellite after the first is trivial.
What you get in exchange: no cloud outages, no "improving our service" audio reviews, no subscription creep, and a voice assistant that still works when your ISP doesn't.
Level Up: Give It a Local Brain
Here's where it gets exciting. That built-in conversation agent can be swapped — or extended — with a local LLM via Ollama. Install the Ollama integration, point it at the Ollama server from our anchor post, and enable "prefer handling commands locally" so device commands stay on the fast built-in engine while everything else—questions, banter, "summarize what's open in the house" — goes to the model.
Suddenly your fully local assistant doesn't just obey; it converses. The full walkthrough (model picks, prompts, control permissions, and the gotchas) is in the series, coming soon.
The Bottom Line
A fully local voice assistant stopped being a compromise. The pipeline — openWakeWord, Whisper, Assist, Piper — is mature, the hardware is cheap, and the whole thing respects the reason you chose Home Assistant in the first place: your home, your hardware, your data. The smart speaker in your kitchen doesn't need a datacenter. It needs a $59 box and an afternoon.
Which room gets your first satellite — and are you team "Okay Nabu" or team "Hey Jarvis"? Tell us in the comments!
💡 Important Disclosure
This article contains affiliate links, which means I may earn a small commission if you click through and make a purchase—at no additional cost to you. These commissions help support the ongoing creation of helpful content like this. Rest assured, I only recommend products and services I personally use or genuinely believe can provide value to you.
Thanks for Your Support!
I truly appreciate you taking the time to read my article. If you found it helpful, please consider sharing it with your friends or fellow makers. Your support helps me continue creating content like this.
- Leave a Comment: Got questions or project ideas? Drop them below—I'd love to hear from you!
- Subscribe: For more tutorials, guides, and tips, subscribe to my YouTube channel and stay updated on all things tech!
- Shop & Support: If you're ready to get started, check out the recommended products in my articles using my affiliate links. It helps keep the lights on without costing you anything extra!
Thanks again for being part of this community, and happy building!

Binary Tech Labs
YouTube content creator that provides tech tutorials and reviews on Home Assistant, IoT devices, Raspberry Pi and other Single Board Computers